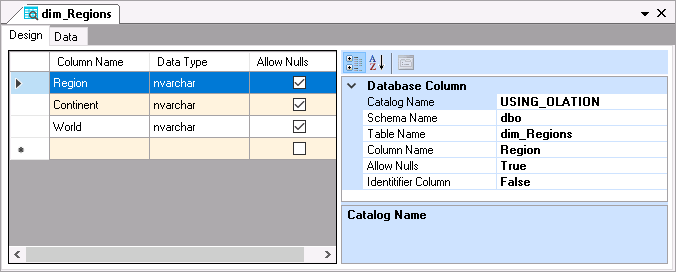
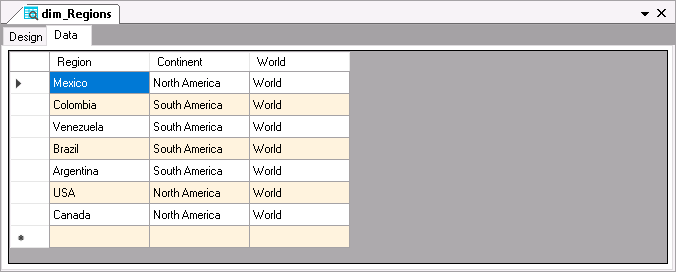
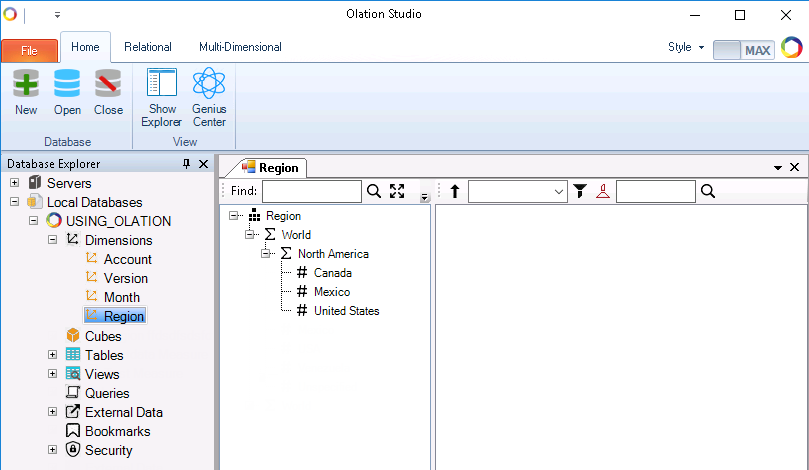
Using Filters to Limit Dimension Members
This feature allows you to include only a specific set of Members when building a Dimension. It acts much like a conditional retrieval, where you define rules or conditions to filter the data. This is especially useful when you want to focus your analysis on a subset of data—such as only active customers, recent dates, or products in a specific category—without modifying the underlying source.
Filtering during dimension creation helps you:
Reduce clutter by excluding irrelevant members.
Improve performance by limiting data volume.
Ensure the dimension includes only the most meaningful or required data for your use case.
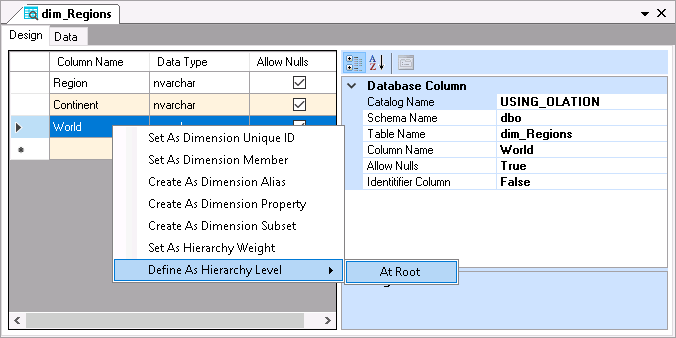
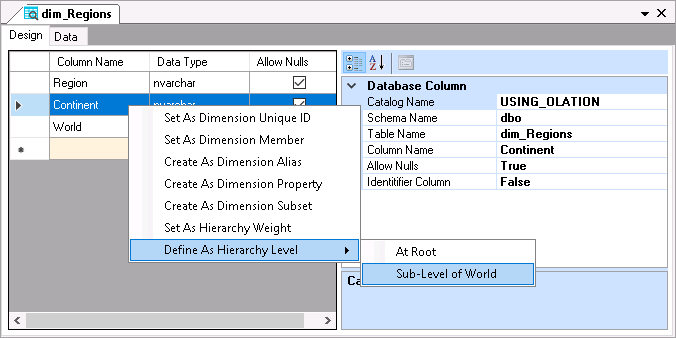
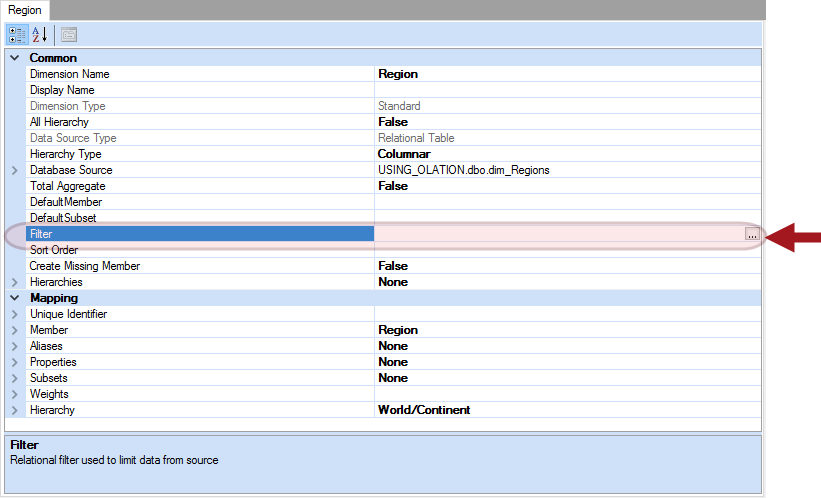
How to Apply a Filter:
1.
Open the Property Grid:
In the Table window of a relational component (where you
define your dimension structure), navigate to the Property
Grid.
2.
Access the Filter Option:
Find the Filter setting within the Property Grid. Click
the ellipsis button ( … ) next to it to open the filter
editor.
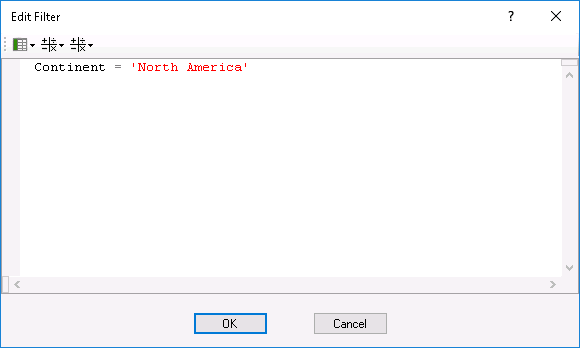
3.
Define the Filter:
The Edit Filter dialog box will appear.
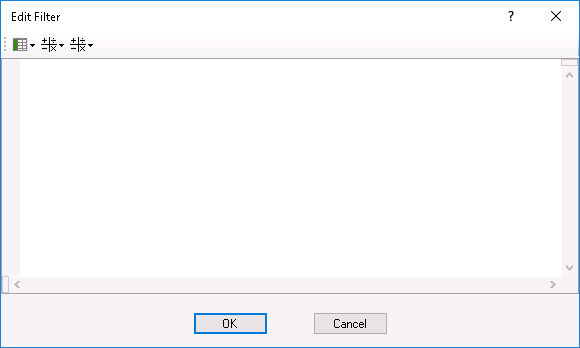
4. This is where you write or build your filter statement using a combination of:
Measure Columns: These represent the fields from your table that you can apply conditions to.
Equality Operators (e.g.,
=, !=) to define matching logic.
Mathematical Operators (e.g.,
>, <, +, -)
to create numerical conditions.
The interface provides helpful icons and tools so you don’t have to manually type everything—making it more user-friendly and less error-prone.
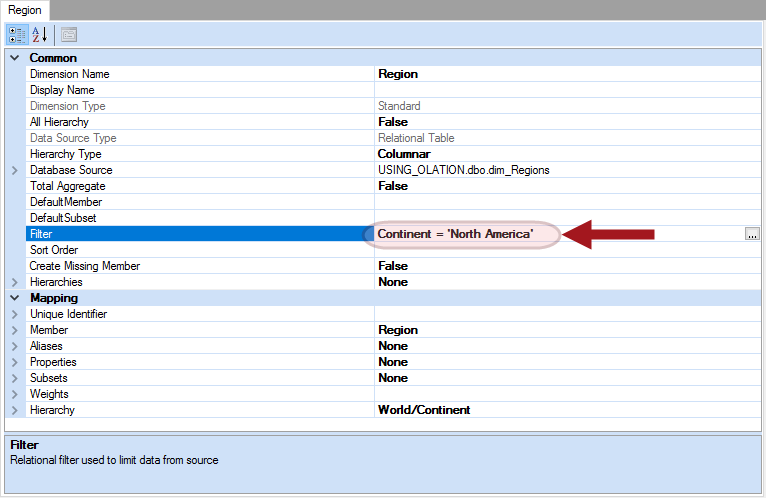
5.
Save the Filter Statement:
Once you’ve created your filter condition, click OK. This
will return you to the Table window, where the filter
statement you just created will now be visible in the Property
Grid under the Filter setting.
![]() Important
Important
![]()
At the end of the process, the system adds sorting and filtering instructions
to the end of the SQL query. The Sort Order, which corresponds
to the ORDER BY clause, decides how the results are ordered
(like alphabetically or by date), and the Filter,
which corresponds to the WHERE
clause, decides which results to include (like
only items over $100). These instructions need to follow the correct format
used in SQL, the language the database understands.
To
show an example, click on this link:![]()