![]() Important
Important
![]()
The user must be logged in with administrator rights or its equivalent
to install Nexus.
![]() Important
Important
![]()
The Nexus Studio is a version of the Olation®
Studio and so the Install Wizard you see will reference Olation®.
Pre-Installation Reminders:
BEFORE YOU BEGIN, PLEASE READ.
Before installing, make sure that the Olation®/Nexus and the PowerOLAP® applications are closed.
You can opt to stop Olation and PowerOLAP services in the Task Manager to avoid restarting your computer after installing.
When upgrading to a newer version of Nexus, you do NOT need to uninstall your current version.
To install Nexus:
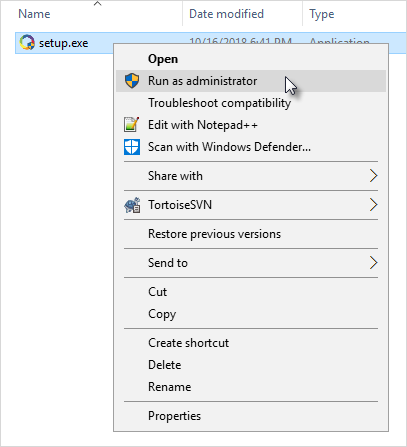
1. Locate and run the Setup installation
file for Nexus.
This initializes the Olation InstallShield Wizard.
![]() Important
Important
![]()
The user must run the application as an administrator. To do this, right-click
on the setup.exe installation file and select the Run as Administrator
option.
2. To continue with the installation, click Next.
3. In the Customer Information screen, specify the user name and company name, and click Next.
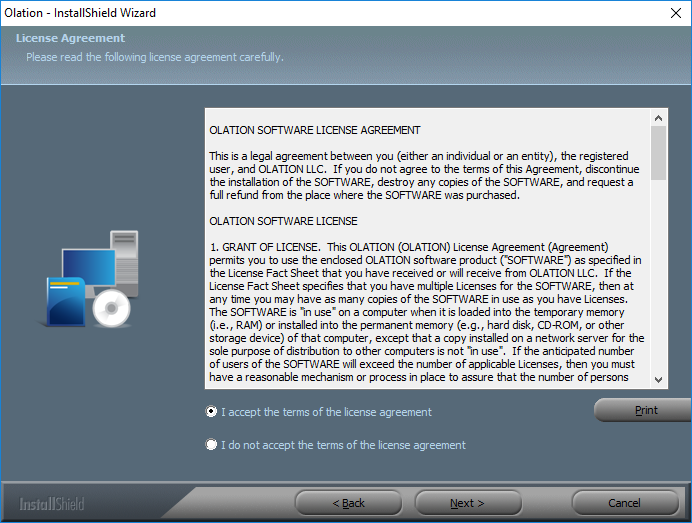
4. The License Agreement screen appears next. Accept the agreement and click Next.
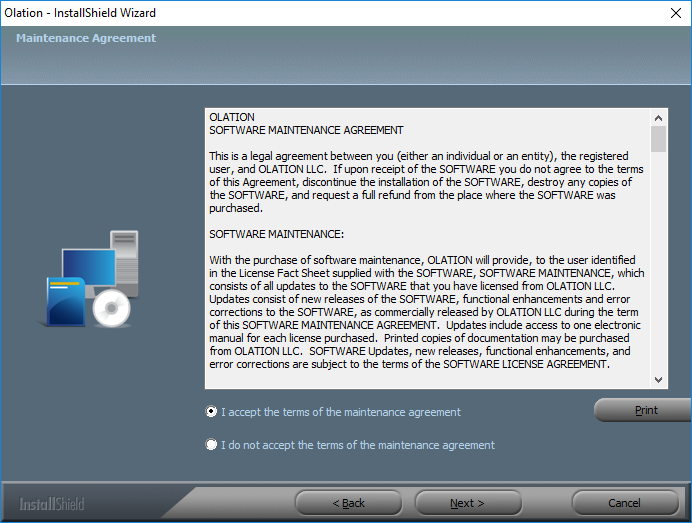
5. The Maintenance Agreement screen appears next. Accept the agreement and click Next.
6. The subsequent screen allows the user to select the setup type for the Olation® installation.
Select to install either the Olation® Server or the Olation® Studio, or select the Complete option, which installs both the Server and the Studio.
Note: For purposes of this manual—and providing the license the user has been provided is for Nexus—the Olation Studio will later become the Nexus Studio and Olation Server will become the Nexus Server.
7. In the next screen, select Install to trigger the installation process.
To modify any previous configuration for the installation, click on the Back button to return to the previous Install Wizard screens.
8. Once the installation has successfully completed, click on the Finish button to exit the wizard.
This completes the Nexus installation.