First, we need to register the local Nexus Server to
add the server to the servers list.
To add the local Server (localhost) to the servers list:
1. Launch the Olation® application.
Note: Notice that at this point, the user interface name displays
'Olation Studio' at the top.
![]() Important
Important
![]()
The user must run the application as an administrator. To do this, right-click
on the Olation icon and select the Run as Administrator option.
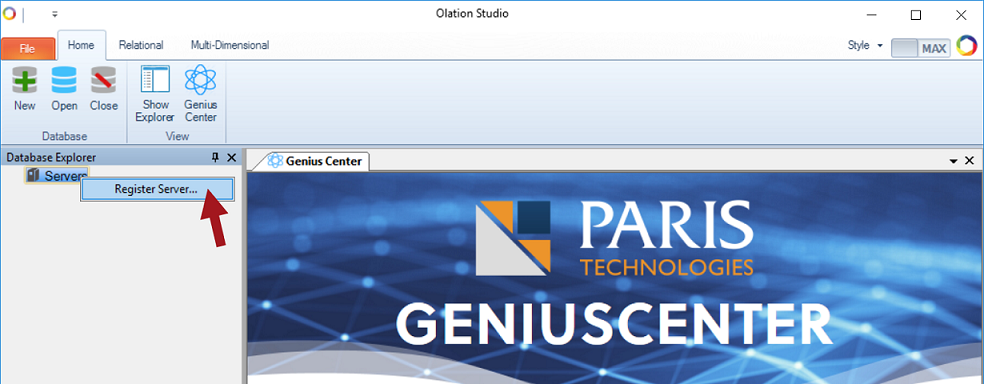
2. In the Database Explorer, right-click
on Servers and click Register Server.
This displays the Register Server dialog box.
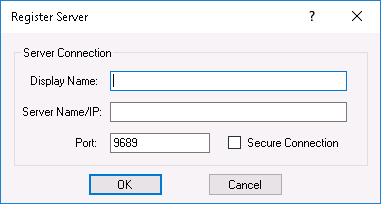
3. Enter the <Display Name>.
4. Enter the <server name>
in the Server field.
When adding a local server,enter "localhost" as the server
name.
5. Disable the Secure Connection option
by unchecking the box.
Note: Secure connection is an ‘Endpoint security’ that protects
the communication between the Nexus Studio and the Nexus Server from network
attacks. Check with your IT staff about preference to check, or if you
may proceed.
6. Enter the correct <Port number>.
Note: The port number 9689 is the default. Check with IT staff if
there is requirement to use another Port.
7. Click OK.
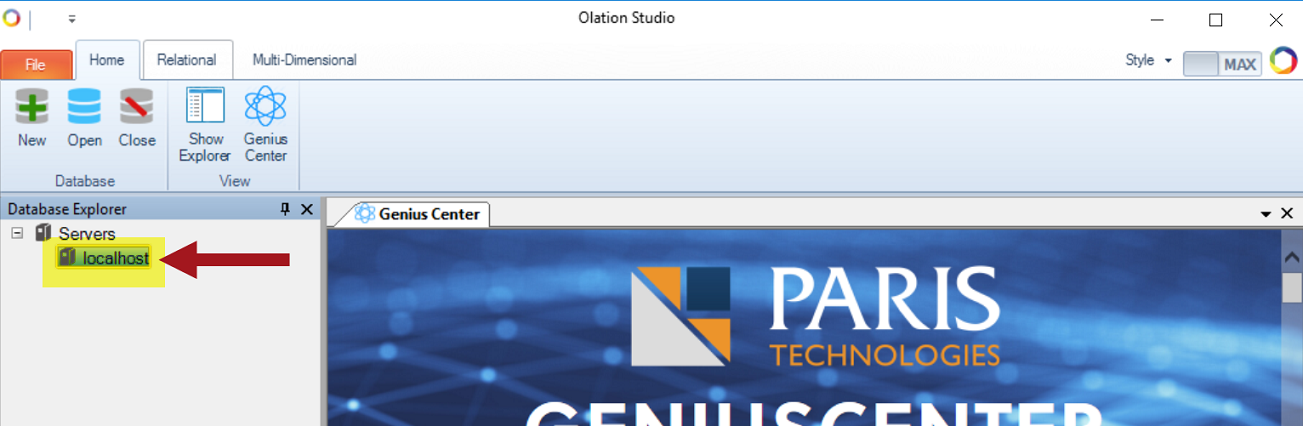
Expanding Servers shows localhost under it.
After registering the local server, you can now register the Nexus Studio license.