1. To create a Nexus model, launch Nexus Studio.
2. In the Database Explorer, expand on Servers, right-click on localhost (or the name of your Server), and select the New Database option.

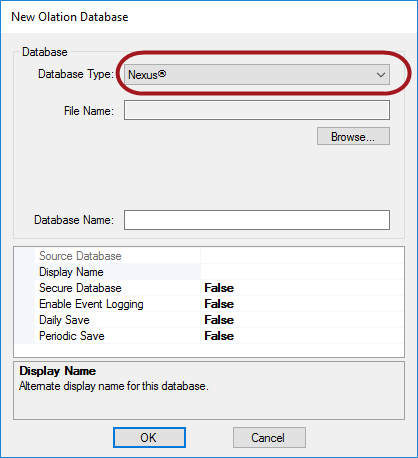
The New Olation Database dialog appears.
![]() Note
Note
![]()
Nexus is a specific type of database that is created by the product, Olation, from PARIS
Technologies. Other database types can be created through use of a
separate license; these other databases are more typically created from
relational database sources, e.g., SQL Server or SAP HANA. The Nexus database
type is a multidimensional database that can be saved as a local file,
but is also available via a Server (as in this case) to multiple users
for collaborative planning, analytics, and reporting.
3. In the Database Type drop-down, the Nexus database type is the only one you will be able to open, as indicated in the Note in the previous step..
4. Click on Browse to locate a directory for the Nexus database and provide a <file name> for your database, e.g., PowerExcel Planning Model.
5. You
may change the Display Name seen by front-end applications (e.g., PowerExcel)
by typing a different <display name> in the Display Name
field. [NOTE: Source Database textbox is not operable in current version.]
Additional options are discussed further below, in the Nexus
Database Properties Options section.
For this exercise, the Display name is the same as the File Name, which is PowerExcel Planning Model.
6. Click OK.
![]() Note
Note
![]()
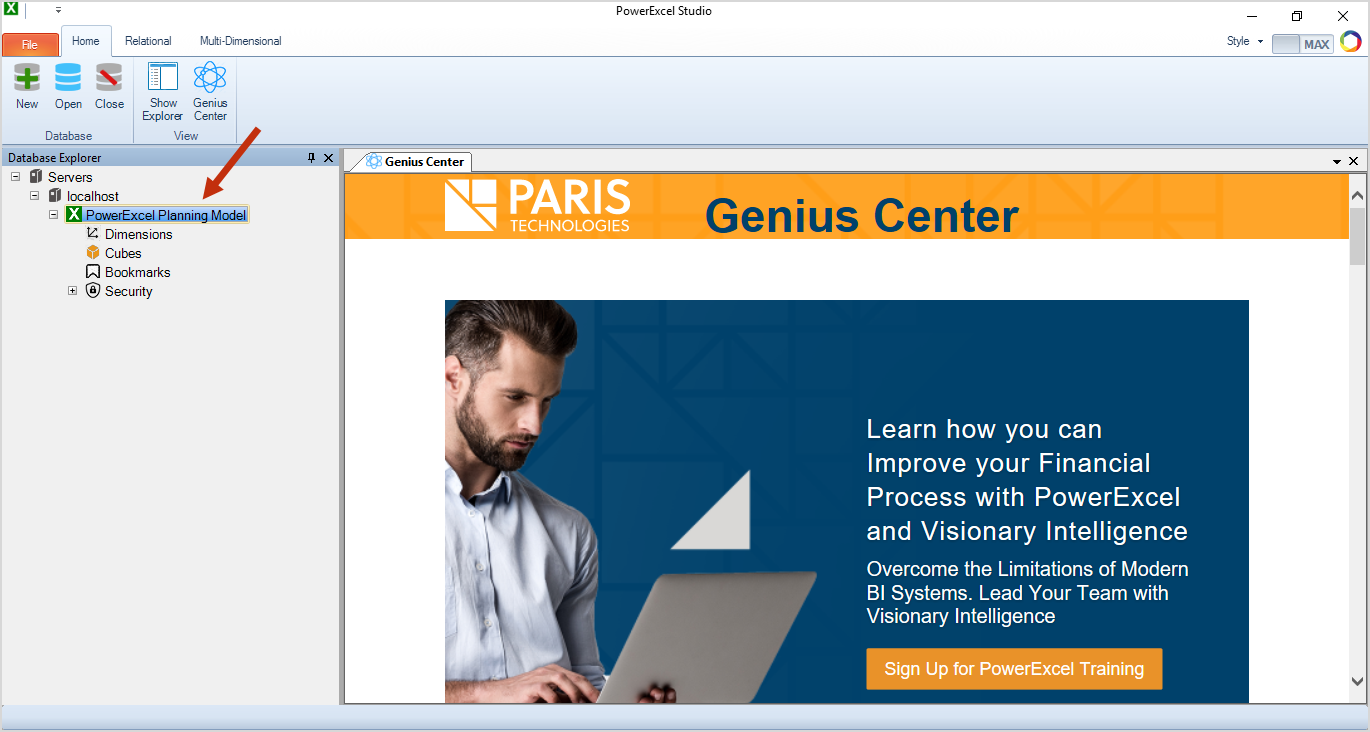
You will see the newly created Nexus database appear as an item in
the Database Explorer. Additionally, a Nexus database file will be created
in the target destination directory and will have a ".Nexus"
file extension.
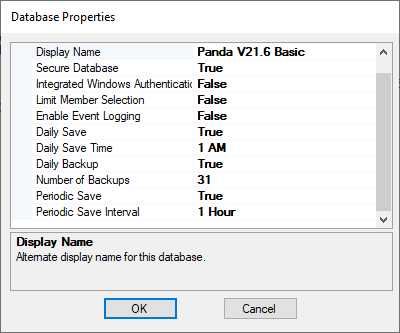
Nexus Database Properties Option
In the course of creating a Nexus database model or after it is saved, you can configure the database properties. The Database Properties dialog (see image below) appears upon right-clicking of the database once it has been saved. Example configuration/selections have been made, which are described in the table found right after the image below.
Source Database |
This is an eternal reference name for accessing the database. [Not available in the current version] |
Display Name |
Name seen by front-end applications (e.g., PowerExcel). |
Secure Database |
This option, if set to True, provides the database—after it has been saved, closed and re-opened—a default username/password (Administrator/Administrator) required for access. Further Security can be configured for different users connecting to the database. See the section Defining Nexus Security. |
Integrated Windows Authentication |
This option authenticates using the current windows user or single sign-on |
Limit Member Selection |
If the database is indicated as a Secure database and when this option is enabled, users can see only those Members that the Security rule gives them privileges to; the other Members will not be shown at all. |
Enable Event Logging |
This option provides information on operations to query, load, etc. data, as well as Error Descriptions. |
Daily Save |
This option, if set to True, enables the daily database save at indicated Daily Set Time. |
Daily Save Time |
This option, if Daily Save is set to True, allows hourly selections for Daily Save. |
Daily Backup |
This option, if set to True, backs up the database daily at the selected time. |
Number of Backups |
This option, if Daily Backup is set to True, allows you to keep a number of backup files before purging the oldest. |
Periodic Save |
This option, if set to True, enables daily database save at indicated intervals (Periodic Save Time setting). |
Periodic Save Time |
This option, if Periodic Save is set to True, allows interval selections for Periodic Save. |
![]() Note
Note
![]()
The Source Database textbox is
not operable in the current version.